Is Steamunlocked Safe? Best Steamunlocked Alternatives
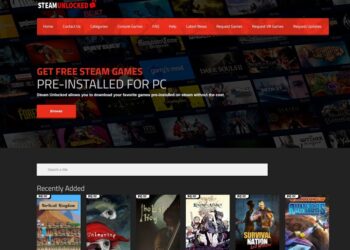
Are you an avid gamer looking for a way to enjoy your favorite titles without emptying your wallet? Look no...
Are you an avid gamer looking for a way to enjoy your favorite titles without emptying your wallet? Look no...
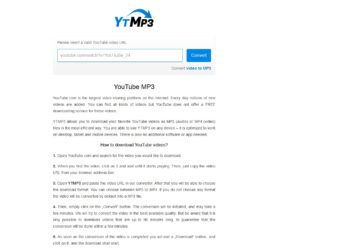
Ytmp3, the ultimate online tool for converting YouTube videos to high-quality MP3 audio files. With Ytmp3, you can enjoy your...
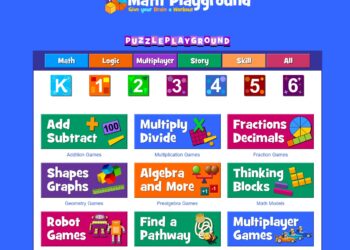
Math Playground is an online platform that aims to make math enjoyable and engaging for kids. With a wide variety...

The 917 area code holds a significant place in the history and communication fabric of New York City. Serving the...
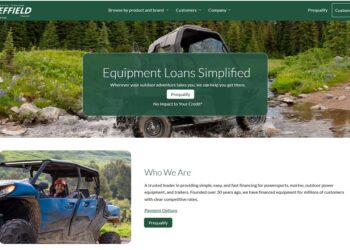
Sheffield Financial, your go-to source for all your financing needs. Whether you're looking to purchase a new vehicle, invest in...

Online storage auctions with LockerFox! If you're new to this concept, you're in for a treat. LockerFox is an innovative...
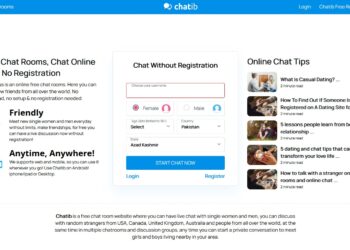
Are you looking for a free chat room experience that connects you with people from around the world? Look no...
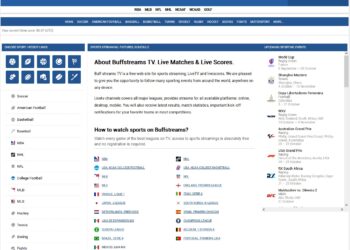
Looking for a reliable platform to stream live sports events? Look no further than BuffStreams, the ultimate destination for sports...

Liteblue Login USPS, the official login portal for employees of the United States Postal Service (USPS). With Liteblue, USPS employees...

FeetFinder, the premier marketplace for buying and selling feet pictures online. Whether you're a seller looking to monetize your unique...